Are you ready for the ultimate nature photoshoot? With winter setting in, many will be travelling to Iceland or the Northern hemisphere in search of the Northern Lights aka Aurora Borealis. Fascinating, somewhat elusive, they are a delight for the eye and of real photographic appeal. They can be tricky to photograph, so we thought we would give you tips on how to capture what will remain one of the most memorable experiences of your life. Good news, you don’t necessarily need the fanciest camera as long as you know how to make the most of the settings. Ready?
Catching the Northern Lights with Your Phone
These days, smartphones are more powerful than ever, and many travelers find they can capture the Northern Lights without a fancy camera. Modern phones handle low light surprisingly well, and with a few simple tips, you can snap images of the aurora that are vivid and memorable. Even if you’re not a photography expert, your phone can help you preserve the magic of Iceland’s skies.
For those who want to catch the perfect shot and dive into more advanced techniques, read on for our 5 easy steps to photographing the Northern Lights.
Planning
The Aurora is among the most photogenic phenomena in this world, but photographing them requires some amount of planning and research. The main things to search for are dark skies, low cloud coverage and a promising Kp Index (Aurora Forecast). That being said, you might also want to think about the composition of your aurora picture. Lakes and still water bodies make for fantastic games of reflection, while abandoned houses or wrecks add to the almost mystical aura of the Northern Lights.
Equipment
You don’t need much equipment except a steady and sturdy tripod, essential to obtain a sharp picture, and a camera you can set on Manual mode, meaning you can adjust the ISO, Aperture and Exposure time as you like. Also wise to remember that in cold environments, batteries can die quickly so make sure they are fully charged before hopping on your northern lights hunt, and keep your spare ones in a warm place, such as the inside of a coat.
Although a full-frame camera and wide-angle will always improve your photography results, by producing less noise with night photography and allowing you to get a wider shot, they are not a must-have for beginners.
Step 1: Set to Manual Mode
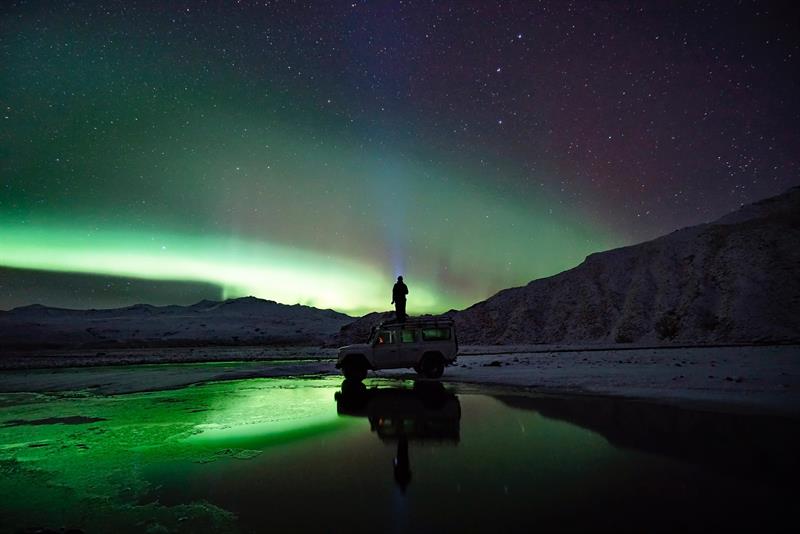
Although the Automatic settings can turn very valuable in daylight conditions, they become completely obsolete during the night, and won’t give you any results. Hence the importance of setting your camera and lens to Manual settings… and turn your Flash off! Before anything else, set the image format to RAW image format to anticipate the post-processing / editing step.
Step 2: Focus your Lens
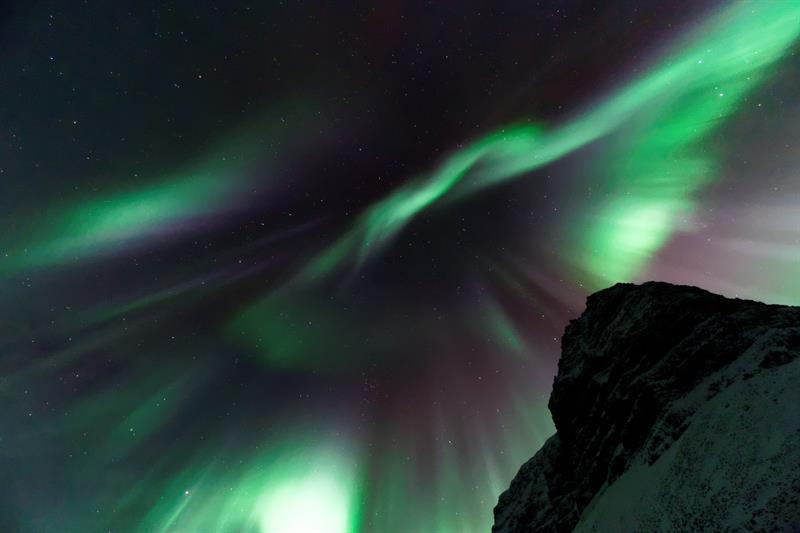
Now the key is to focus your lens. Northern lights being a fair distance away from us, a good start is to set the focus point at infinity (∞ symbol on most cameras) to get a sharp focus. By testing it, you might find it imprecise and want to adjust it. It is easier to find your focus during daylight, and either memorize the settings or make some mark on your lens rim with a permanent marker or tape.
Step 3: Set the Aperture (f-stop)
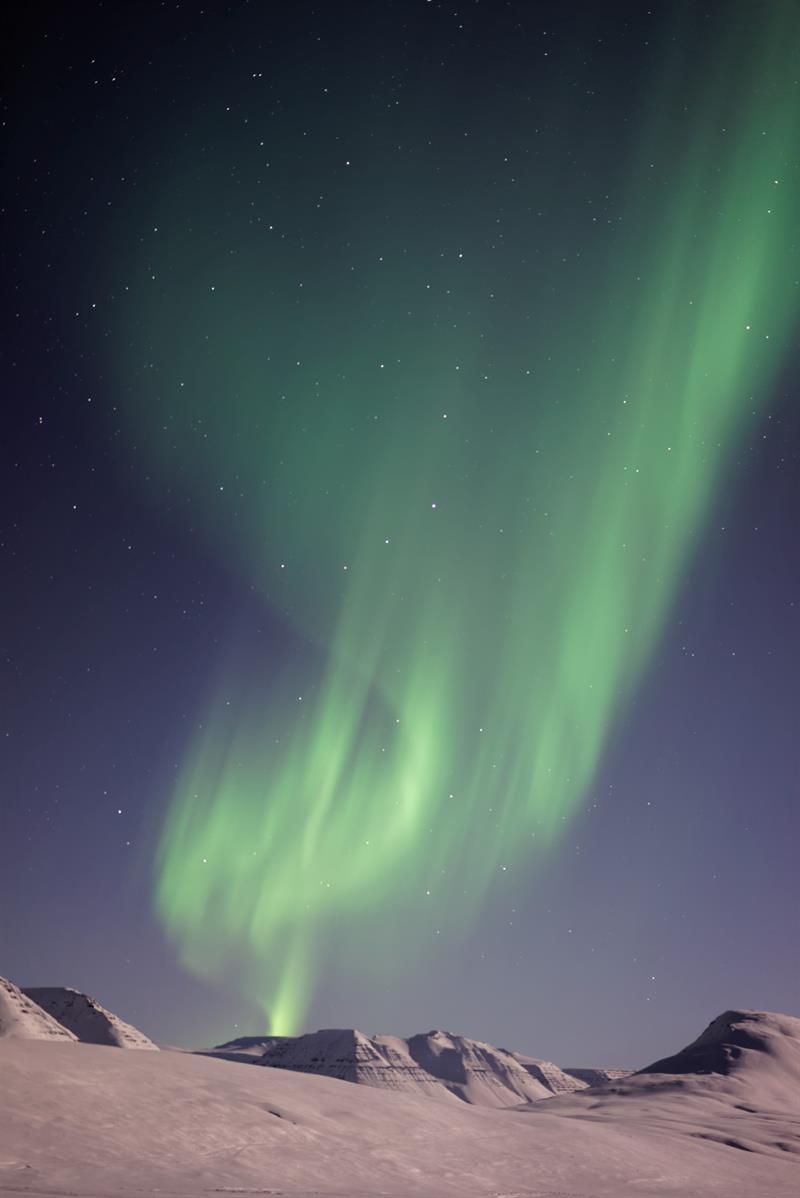
The aperture is how much light the size of the opening is letting through the lens. The lower the maximum aperture (f-number), the bigger the opening, and the more light that passes through the lens. For Northern Lights, it is good to set the aperture at f-2.8 or the lowest f-number you can get. The aim is to let the most amount of light in a reduced amount of time, for a quality image.
Step 4: Set the Exposure (shutter speed)
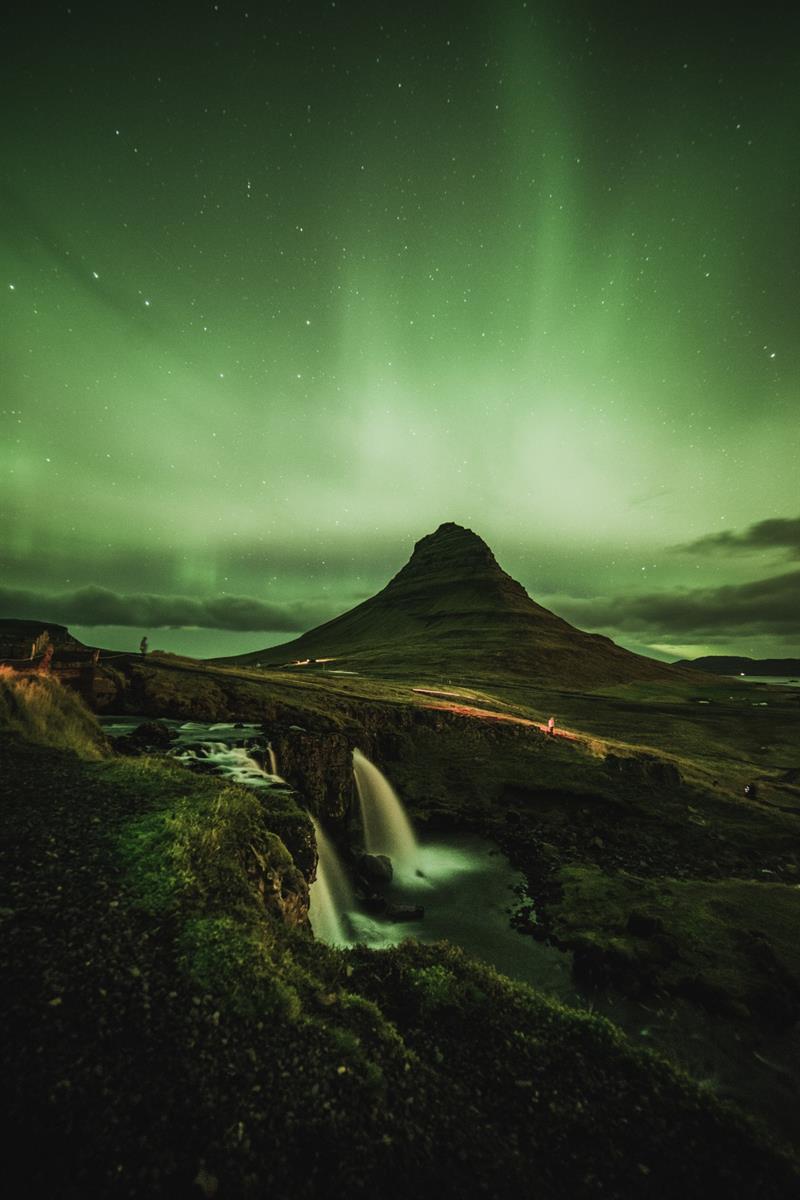
Try an exposure time between 5 and 25 seconds, opting for a 5-7 second exposure if the Aurora is moving fast, or a longer exposure of 15-25 seconds if moving slowly. The shorter the exposure time, the closer what you actually saw with your eyes, which is the reason why people are often surprised when witnessing northern lights, expecting them to be more like they saw on eye-catching northern lights shots.
Step 5: Set the ISO
The objective is to capture the brightest parts of the picture, as you can always recover the darker areas around in the editing process. Start with an ISO of 1600 and take a practice shot. If the photo is too bright, try reducing your ISO. If it isn’t bright enough, try increasing your ISO until it is, knowing that ISO reduces the image quality, while the Aperture and Exposure do not, so you might want to check and optimize the latter before increasing your ISO.
Experimentation is the key, after a few tries, you will get the settings that work best for you that night.
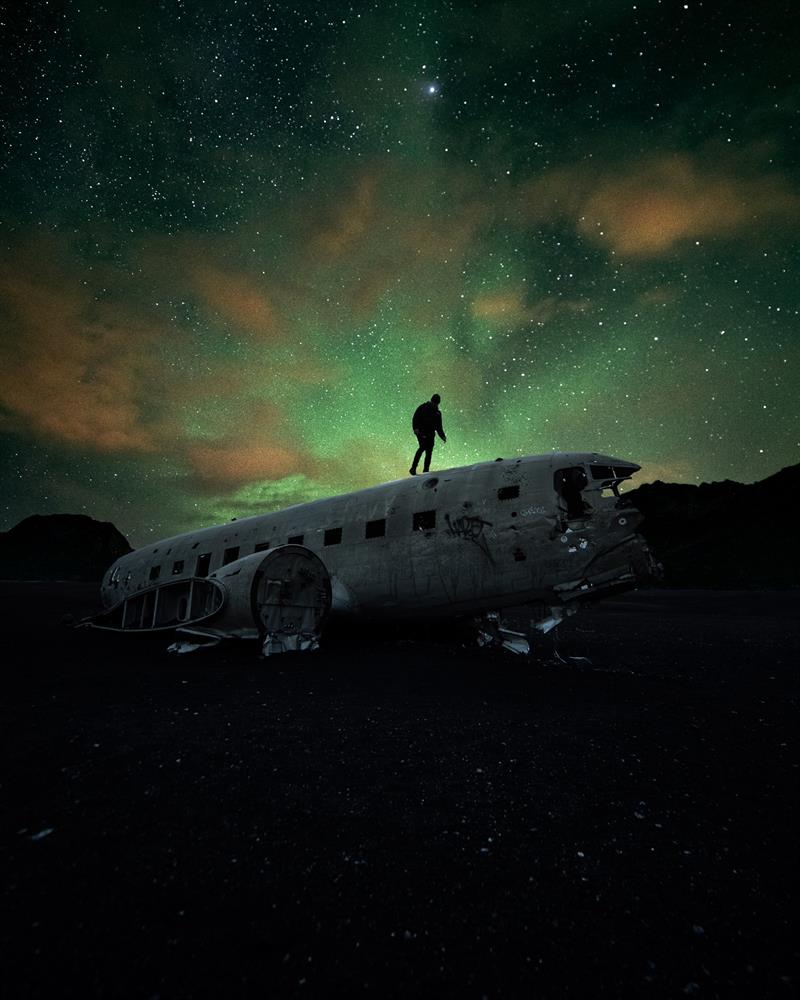
Now all you have to do is mount your camera on a tripod, your best ally against wind and shaking, thus against blurry pictures. We would be pleased to see your photography work!
If you liked this article, you might be interested in The Best Time to See the Northern Lights in Iceland, How, Where and When to See the Northern Lights in Iceland, as well as our selection of Northern Lights Tours.
We at Hey Iceland are dedicated local rural experts and we can offer expert advice on travel to Iceland. Travel with us and you'll be in good hands - See you soon!
Book your Winter trip to Iceland at a 15% discount now!